
The hard
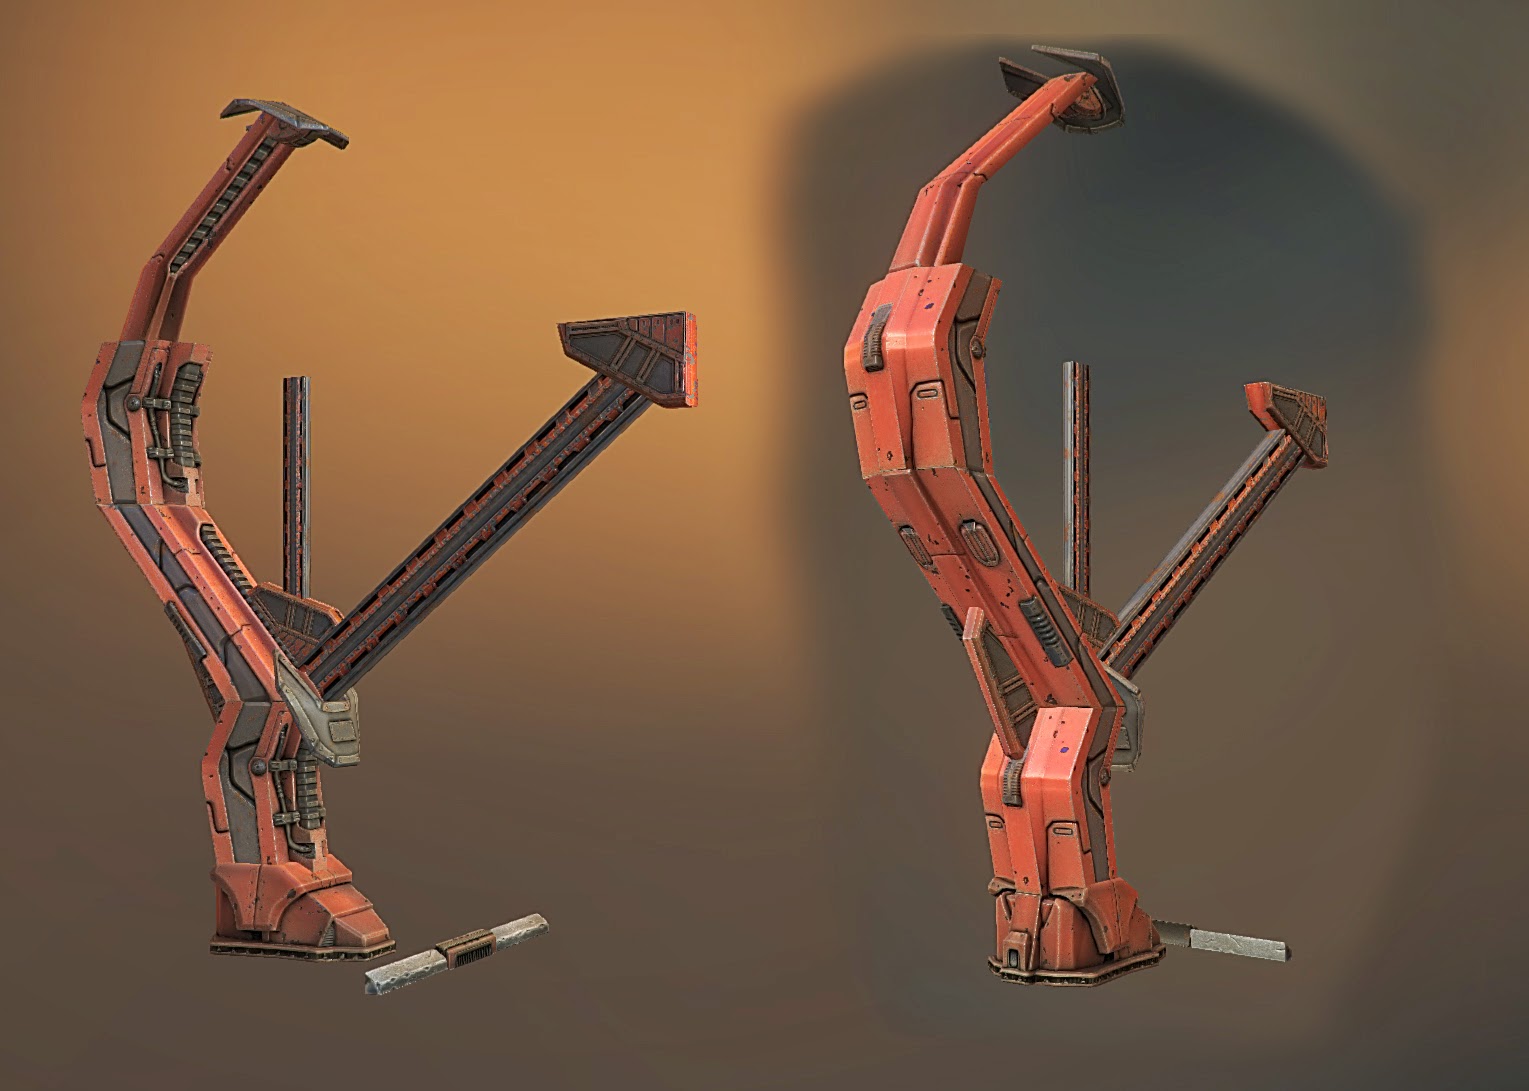
surface details is pretty straight forward. I took the already made pieces from
max, that I know fit together and simply detailed them out in Zbrush using a
number of tools. I could create them directly in Zbrush, however starting out with the meshes from max allows me to plan for future modularity. I use many of the typical tools for creating hard surface detail: clip curves with masking, h polish, trim dynamic (i like to disable pressure and turn on lazy mouse for more precision). I created some of the smaller panels using panel loops, and some using custom brushes for a more interesting look. Custom alphas and mesh
insert brush is a great way to get detail out quickly however those brushes
often take time to create if I already don't have them in my library, it only
needs to be done once however, but I still find myself creating some for different
projects to make them more unique, I'm sure once I have a big library I wouldn't
have to do it as much. Also I found the power of using premade brushes by other
professionals, in this particular case I used the MAHmech cut to get those
inside panels on the side. Its a quick way on experimenting creating different
panels, it creates a pretty big panel which would look nice in the normal map.
The fastest way of adding nuts and bolt's is just by using mesh insert with
curves options. I could do the same thing in max, but detail like that is
usually the last thing I do, and I prefer avoiding throwing big Zbrush assets
into max. I find that the longest part of creating those pieces probably
came with me trying to invent things on the fly, I found it really useful to
look at things like various sci-fi concepts, and screen caps from movies for inspiration, as well as Kevin Johnstones work.

The stone
elements were done various spray brushes and morph spray brushesas ewll as some custom brushes. I used trim dynamic to establish first
the major shape breaks, then go ever and roughen up the edges with the spray
brushes, lastly I would use custom brushes for things like cracks and other
breaks in the stone. The broken concrete piece is tilable and is going to
create a decal thats going to sit on the edges of geometry, that should save some polygons, and it would be able to go on any broken concrete that I would create for my scene. This is the basic workflow for the concrete:
Starting with a base mesh imported from max
0. store Morph
1. blocking with clay tubes
2. go over with Hpolish to sharpen things up
3. mask outer edge
4. negative inflate the inner concrete to create the "break lip", cleanup collapsed edges caused by inflate
5. add the concrete alpha, making sure it gets on
the edges as well (so shrink mask a bit more)
6. add pebbles7. go over edges with a small morph
brush to mess them up some more and give them concrete character
10. Colorize the borken part and
the smooth part to seperate them for diffuse mask.
The
concrete alphas made and the from this texture, it was then passed through
crazybump to create displacement, which I then imported in Zbrush, displaced by masking by intensity and moving it out some, and clean it
up and give it some character by sculpting on it. I chose this rock texture because actual concrete is
often too noisy. This arid rock texture I got from CG textures worked well in
my opinion as it has some big shapes and its porey nature really reminds me of
concrete.
Lastly I
wanted to create the pavement break using a similar technique however it ended
up looking pretty bad, I realized that half way through making it that having
an actual cracked pavement displacement map yields too messy of a result.
Instead I used a similar technique to concrete with some modifications. The
break lip was still made using the inflate and the ground was made using an
alpha (there is a premade stucco alpha in zbrush that I think worked well, its
not too messy and texture reminds of earth) For the cracks on the outside I used a custom crack brush that I found online, which gave a nice
nature of a crack but it was too thin. Then I enlarged it using another cracks
brush (the famous Orb Cracks) it worked well and lastly i used the morph spray
brush to bring back some of those edges and mess them up a little because Orb
brush makes things a bit too clean as it is a stylized brush. I am going to put
some slabs of concrete inside this decal so it would look like parts of the
bridge fell and damaged the pavement. Also I plan on using the vertex color
technique in UDK to break up the detail by mixing pavement and dirt on two texture channels so I may use this decal more then once
and it wont be noticeable that its repeating. Next up is baking and texturing!